First the Short and Simple version
Watch the whole day of the Biochar Workshop led by Bob Wells, soil scientist Jon Nilsson and Patryk Battle. Learn how to make biochar and its many beneficial uses including greatly enhancing soil life and fertility. Discover innovative ways to maximise its uses for dynamically carbon negative farming and gardening. Videos below the notes.
Why Biochar and what it is
It is charcoal that is activated/inoculated with microorganisms and is tremendously beneficial to improving soil, sequestering carbon (pulls in CO2 from the air), absorbing beneficials like water and microbes, etc. It can be used as a carbon filter, water filter, oil clean up.
Using chars in soil will give you 51% more yield and reduces the need for fertilisers. You only need to put the char exactly where the plant is going to be. Roots will grow into it as it will store a lot of water.
It’s like a housing system for bacteria, fungi and so much more biology.
The half-life of biochar is 1000s of years so just need to add it to the soil once.
Pick a bag of Biochar or make your own from Amazon #ads
4 goals
1: Make the best biochar possible.
2: Use as much process energy as possible.
3: Eliminate as many emissions as possible.
4: Make is as profitable as possible. Not necessarily money.
– Should be no white/ash on the outside and no brown inside. It should sound like crystals and should not taste like anything. They drier the wood the better end product. Seeing smoke means it’s not a clean burn. Too much oxygen and the burn will keep going until everything is ash.
– Even if it kills your plants the first year out, once it kicks in it will be magical for your soil and plants.
– Important note: After the process/pyrolysis is complete it’s best practice to dowse the char in water and let it say for a few hours or overnight as the char will be so dry that in the open it can self ignite.
– Facility and design breakdown.
Click images to enlarge.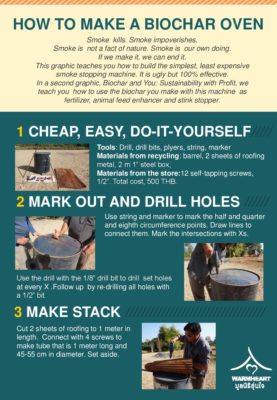

Text Transcribed in case pictures are not visible.
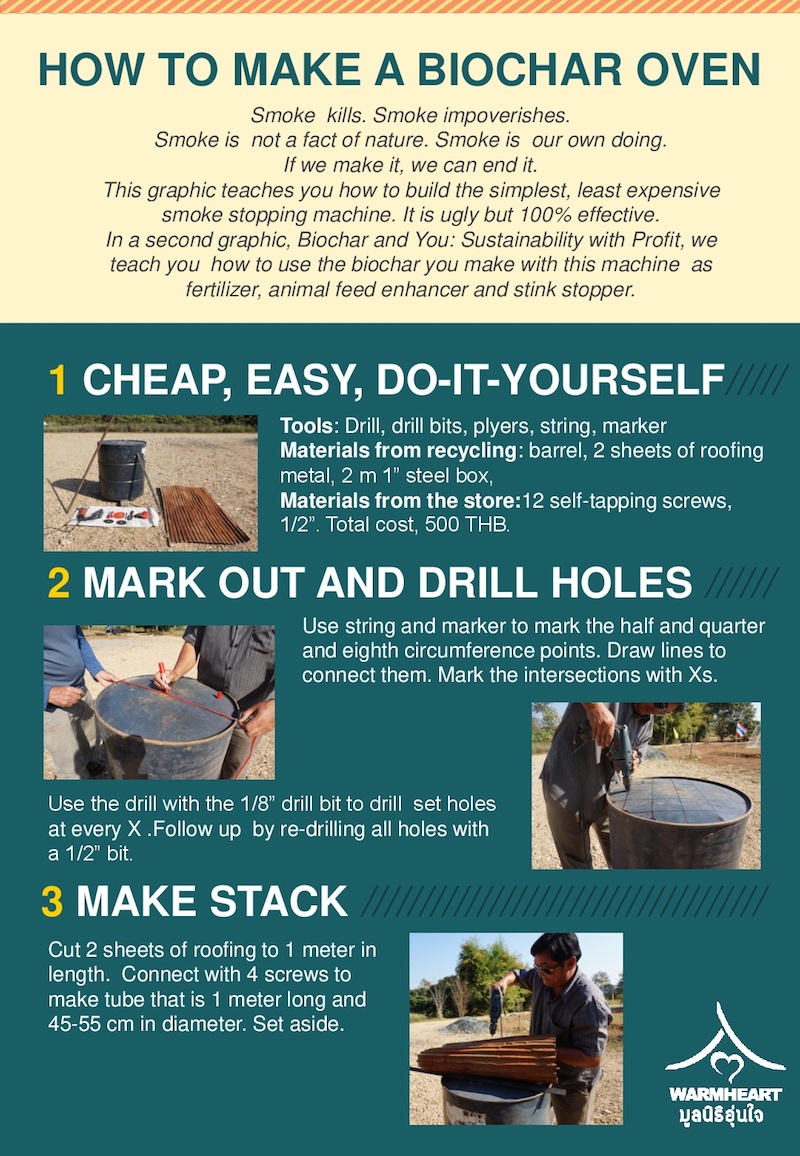
HOW TO MAKE A BIOCHAR OVEN
Smoke kills. Smoke impoverishes. Some is not a fact of nature. Smoke is our own doing. If we make it, we can end it. This graphic teaches you how to build the simplest, least expensive smoke stopping machine. It is ugly but 100% effective. In a second graphic, Biochar and You: Sustainability with Profit, we teach you how to use the biochar you make with this machine as fertilizer, animal feed enhancer and stink stopper.

1 CHEAP, EASY, DO-IT-YOURSELF
Tools: Drill, drill bits, plyers, string, marker.
Materials from recycling: barrel, 2 sheets of roofing metal, 2m 1″ steel box.
Materials from the store: 12 self-tapping screws, 1/2″.
2 MARK OUT AND DRILL HOLES
Use string and marker to mark the half and quarter and eighth circumerence points. Draw lines to connect them. Mark the intersections with Xs.
Use the drill with the 1/8” drill bit to drill set holes at every X .Follow up by re-drilling all holes with a 1/2” bit.
3 MAKE STACK
Cut 2 sheets of roofing to 1 meter in length. Connect with 4 screws to make tube that is 1 meter long and 45-55 cm in diameter. Set aside.
Pick a bag of Biochar or make your own from Amazon #ads
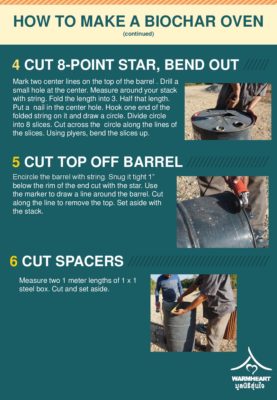
4 CUT 8-POINT STAR, BEND OUT
Mark two center lines on the top of the barrel . Drill a small hole at the center. Measure around your stack with string. Fold the length into 3. Half that length. Put a nail in the center hole. Hook one end of the folded string on it and draw a circle. Divide circle into 8 slices. Cut across the circle along the lines of the slices. Using plyers, bend the slices up.
5 CUT TOP OFF BARREL
Encircle the barrel with string. Snug it tight 1” below the rim of the end cut with the star. Use the marker to draw a line around the barrel. Cut along the line to remove the top. Set aside with the stack.
6 CUT SPACERS
Measure two 1 meter lengths of 1 x 1 steel box. Cut and set aside.
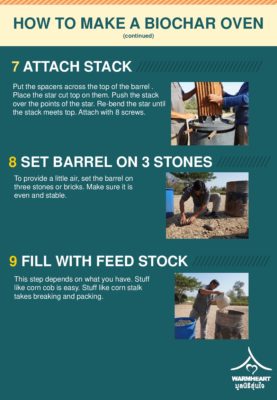
7 ATTACH STACK
Put the spacers across the top of the barrel . Place the star cut top on them. Push the stack over the points of the star. Re-bend the star until the stack meets top. Attach with 8 screws.
8 SET BARREL ON 3 STONES
To provide a little air, set the barrel on three stones or bricks. Make sure it is even and stable.
9 FILL WITH FEED STOCK
This step depends on what you have. Stuff like corn cob is easy. Stuff like corn stalk takes breaking and packing.
10 LIGHT, PUT ON TOP, BURN
Cover the feed stock with very dry leaves. Light from all sides. Make sure that the entire surface is burning. Put on the top.
When drops of water tossed on the lowest part of the barrel turn to steam instantly, you are done!. Quench!
11 QUENCH AND EMPTY
Lift the top off using the spacers. Pour LOTS of water into the barrel. Empty it on the ground and if it is even steaming, pour on more water!
12 CLEAN!
When you are done, take 5 minutes to spray your barrel clean. If you do not, it will rust out. If you do, it will last for years.
Part 1, How to Make Biochar
Part 2, Why to Make Biochar
Part 3, The Carbon Cycle
Pick a bag of Biochar or make your own from Amazon #ads
Part 4, The Biochar Facility
Part 5, Biochar & the Greenhouse
Bonus: Backyard Biochar with Abraham Cluxton
Bonus: The Secret Of Eldorado – TERRA PRETA
Hey folks, it’s Paras!
If you have a request to see a tech product, summary on personal development or want a custom design for clothing and merch … Please do let me know through the links below.

Join me or support my work
💌 Monthly email summary
▶️ YouTube | TikTok | Instagram
👍 Facebook | X | Blog
🎤 Podcasts: My Stories | Self Growth
Other links:
💰Get $25 of FREE Bitcoin
☕ Buy me a Coffee
🛒 My Amazon
👕 My Merch